Volume Anchor Charts: Your Secret Weapon for Conquering Volume in Elementary Math
Teaching volume to elementary students can be challenging. It's an abstract concept that many find difficult to grasp. But what if I told you there's a simple, visual solution? Volume anchor charts—essentially, handy reference posters—transform the learning experience, making volume comprehension easier and more engaging for your students. This guide provides a step-by-step approach to creating and utilizing these charts, complete with hands-on activities perfect for 3rd-5th graders. Let's make math fun!
Three Pivotal Points for Success:
- Visual Learning: Anchor charts provide a visual reference point, greatly aiding comprehension of abstract concepts like volume.
- Hands-on Activities: Engaging activities make learning tangible and memorable, enhancing understanding and retention.
- Differentiated Instruction: Adaptable charts and activities cater to diverse learning styles and needs, ensuring inclusivity in the classroom.
Designing a Winning Volume Anchor Chart: A Step-by-Step Guide
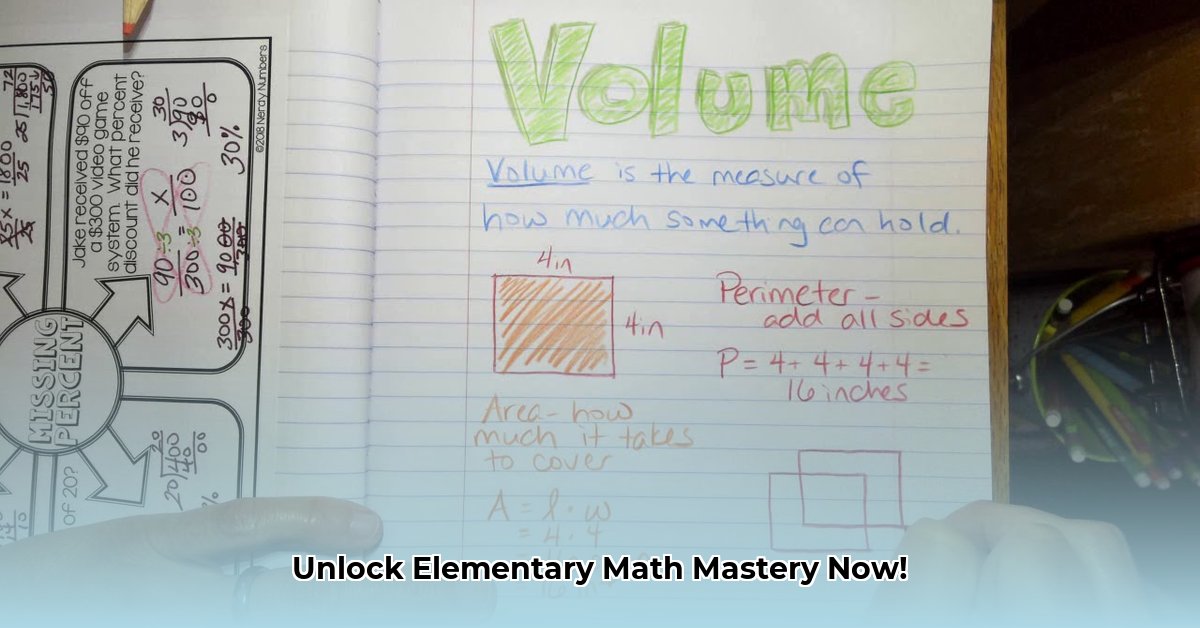
Creating an effective volume anchor chart is not about artistic talent, but rather clear communication. The goal is to create a readily understandable reference for your students—their quick-access visual cheat sheet for tackling volume.
Step 1: Focus Your Scope: Don't try to cover everything at once. Select one or two key volume concepts relevant to your current lesson plan. Are you focusing on cubic units, liters, or real-world applications of volume? A focused approach simplifies the learning process.
Step 2: Plan Your Layout: Before grabbing markers, sketch a design on a large sheet of poster board or butcher paper. Consider using columns or rows to maintain organization and readability.
Step 3: Leverage Visuals: Visual aids are invaluable when teaching abstract ideas. Use diagrams, illustrations, and real-life photos to illustrate volume in action. Simple drawings often prove more effective than complex ones.
Step 4: Prioritize Clarity: Avoid information overload. Keep it simple, using clear headings, concise descriptions, and powerful visuals.
Step 5: Strategic Color-Coding: Color-coding enhances navigation and comprehension. Assign different colors to different concepts, maintaining consistency for a visually appealing and easily understood chart.
Step 6: Collaborative Chart Creation: Let your students participate! Involving them in the creation process—contributing drawings, examples, or explanations—fosters a sense of ownership and deeper understanding.
Step 7: Continuous Improvement: After the initial creation, use the chart in your lessons, observe its effectiveness, and make adjustments as needed. A great anchor chart is often a work in progress.
Hands-On Activities: Making Volume Come Alive
An excellent volume anchor chart is just the first step. Hands-on activities make volume concepts tangible and memorable.
Activity 1: The Block Party: Use unit cubes (or sugar cubes) to build various shapes. Students count the cubes to determine the volume, starting with simple shapes and gradually increasing complexity. This directly visualizes the space occupied by volume.
Activity 2: Liquid Adventures: Use containers of varying shapes and sizes. Students fill them with water, rice, or beads and compare volumes using measuring cups or graduated cylinders. This provides a practical understanding of capacity.
Activity 3: Real-World Volume Detectives: Relate volume to everyday objects. How much cereal fits in a box? What's the volume of the classroom aquarium? Connecting abstract concepts to real-world situations enhances comprehension.
Assessing Understanding and Differentiating Instruction
Regular assessment is crucial to gauge students' understanding of volume.
Assessment Strategies:
- Direct Observation: Observe students' engagement and problem-solving approaches during hands-on activities.
- Formative Assessments: Utilize short quizzes or worksheets to assess comprehension of key concepts.
- Project-Based Assessments: Have students apply their knowledge to solve real-world volume problems.
Differentiation: Adapt activities to suit individual student needs. Provide extra support for struggling learners and offer more challenging tasks for advanced students. The volume anchor chart should serve as a flexible guide for all.
Troubleshooting: Anticipating and Addressing Challenges
Teaching is an iterative process; challenges are inevitable.
- Start Simple: Begin with easier activities and gradually increase difficulty.
- Clear Instructions: Ensure instructions are unambiguous and easy to follow, using visual cues for clarification.
- Collaborative Learning: Encourage peer interaction and teamwork.
- Positive Reinforcement: Acknowledge and praise student effort and achievements.
Adapting Charts for Diverse Learners
Creating inclusive anchor charts requires considering diverse learning styles and accessibility needs.
Adaptive Strategies: Use clear fonts, large print, multiple representations of concepts (visual cues, tactile elements), and translated words for English Language Learners (ELLs). Size matters; a large classroom chart serves as a constant visual reminder, while smaller individual charts can be beneficial for focused learning. Interactive elements such as pockets, flaps, and QR codes linking to online resources enhance engagement.
Activity Adaptations: Adapt hands-on activities for visual (color-coded diagrams), auditory (verbal explanations), kinesthetic (manipulatives), and ELL learners (visuals, gestures, simplified instructions). Regular chart updates and collaborative creation further enhance inclusivity.
Remember, effective teaching involves continuous improvement and adaptation. Use your volume anchor chart as a dynamic tool, adjusting it as your students' needs evolve. By making learning fun and accessible, you'll foster a confident and successful classroom experience.